Connect a compatible KeyForge device and make your first control assignment. You only need a few steps to get going.
Install KeyForge Master
Download KeyForge Master for your operating system from the Configurator page and open the app.
Connect your device
Connect your KeyForge device to your computer. Open it from the Connected devices area in KeyForge Master.
Configure a control
Select a key or dial, choose an action and select Apply changes to save the configuration to your device.
Once configured: keyboard shortcuts and supported on-device actions remain available without keeping the configurator open. Computer-assisted features, such as App Sync or the on-screen overlay, require the desktop software.
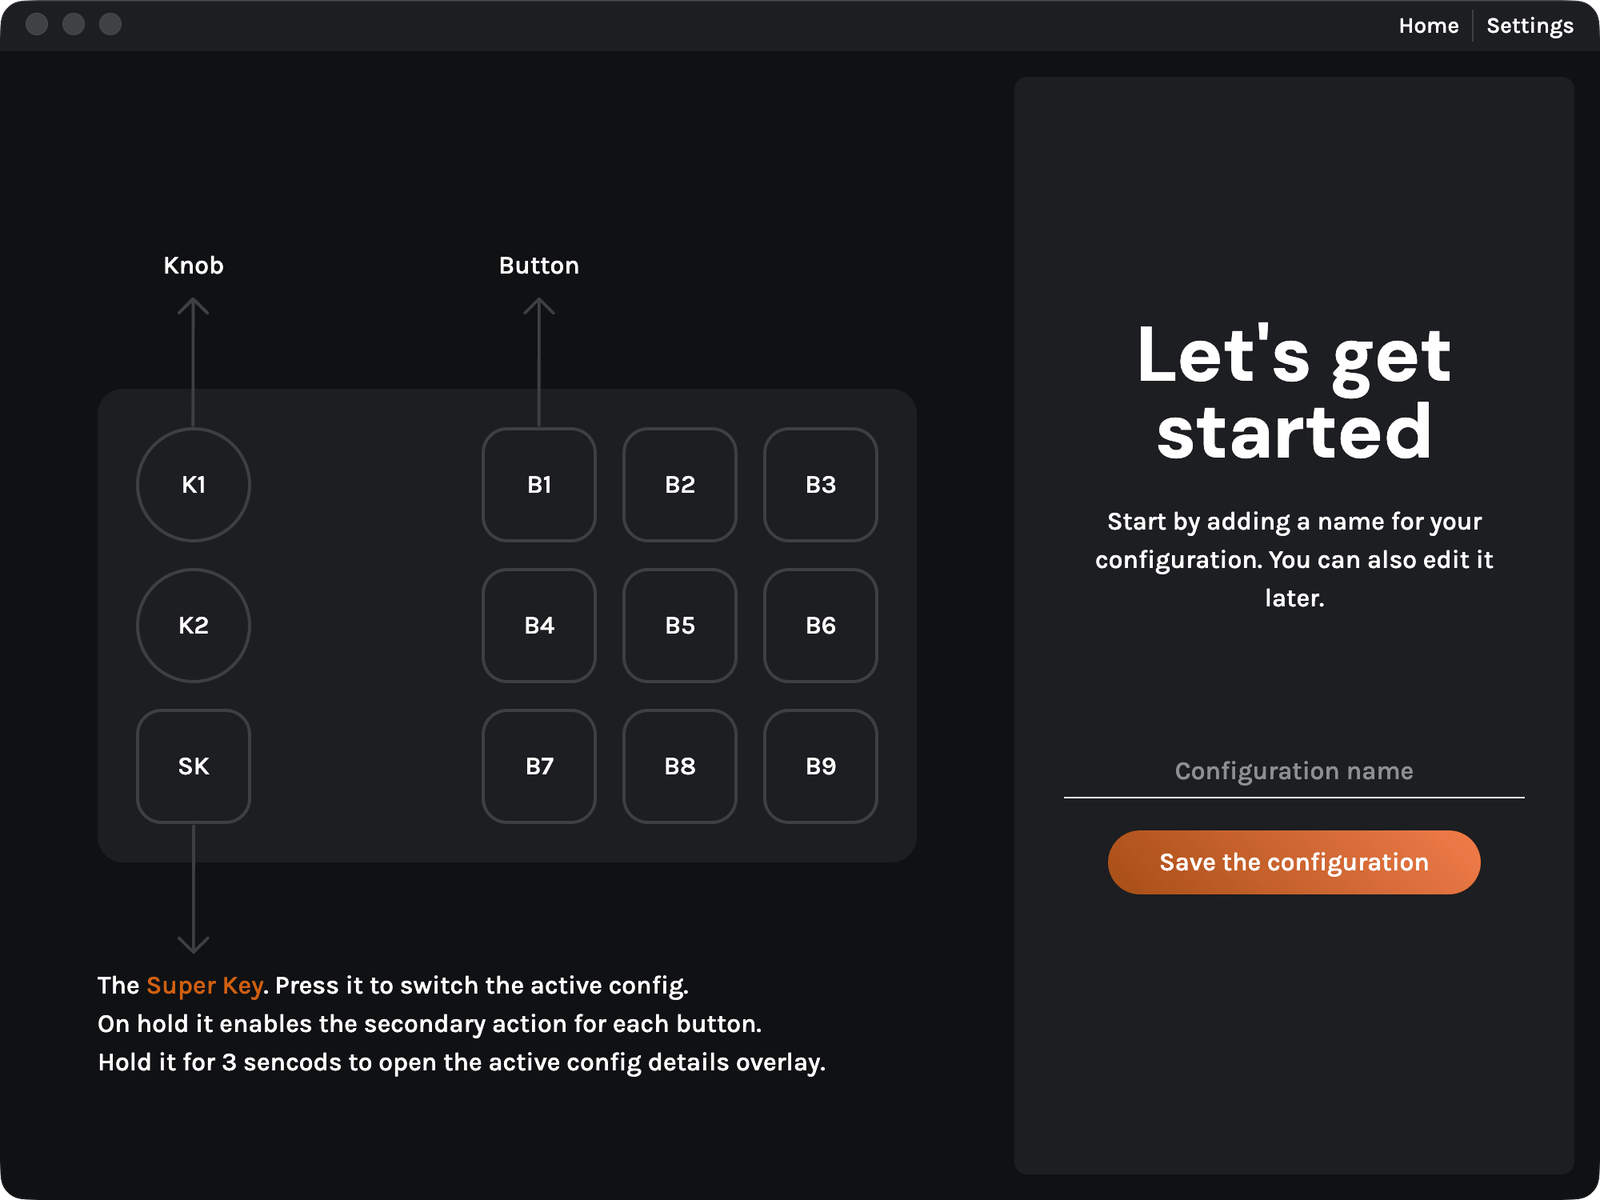
Controls & SuperKey
The controls available in KeyForge Master reflect the connected device.
Keys and Knobs
Mechanical keys (Buttons)
Assign a primary action to each key. A secondary action can be used while holding SuperKey.
Rotary encoders (Knobs)
Each encoder provides three inputs: turn left, turn right, and press. Configure these inputs individually.
SuperKey
Use it to switch configurations, access secondary actions, or request the active-configuration overlay.
Using the SuperKey
Tap
Move to the next saved configuration. The MK-01 indicator LEDs identify the active configuration.
Hold
Trigger the other control’s secondary action while holding SuperKey.
Hold for 3 seconds
Show the active-configuration overlay on your computer, provided the overlay is enabled and KeyForge Master is running.
Active config overlay: In KeyForge Master, open Settings → Device → Active config overlay and select On or Off. Turning it off does not affect SuperKey, the secondary actions, or configuration switching.
Configurations
A configuration is a set of assignments for your device. Create different configurations for coding, design, editing or any other workflow, and switch between them instead of reassigning each control.
Open device settings
Select your device in KeyForge Master, then open Settings → MK-01 to see its saved configurations.
Create or rename
Choose Add new config to create one. Use the settings control beside a configuration to rename it.
Switch configurations
Select the configuration you want in KeyForge Master, or tap SuperKey on MK-01 to cycle through saved configurations.
MK-01 supports up to five configurations. If you have uncommitted edits, KeyForge Master may ask you to apply or discard them before switching. Deleting a configuration is available for inactive configurations.
Assigning actions
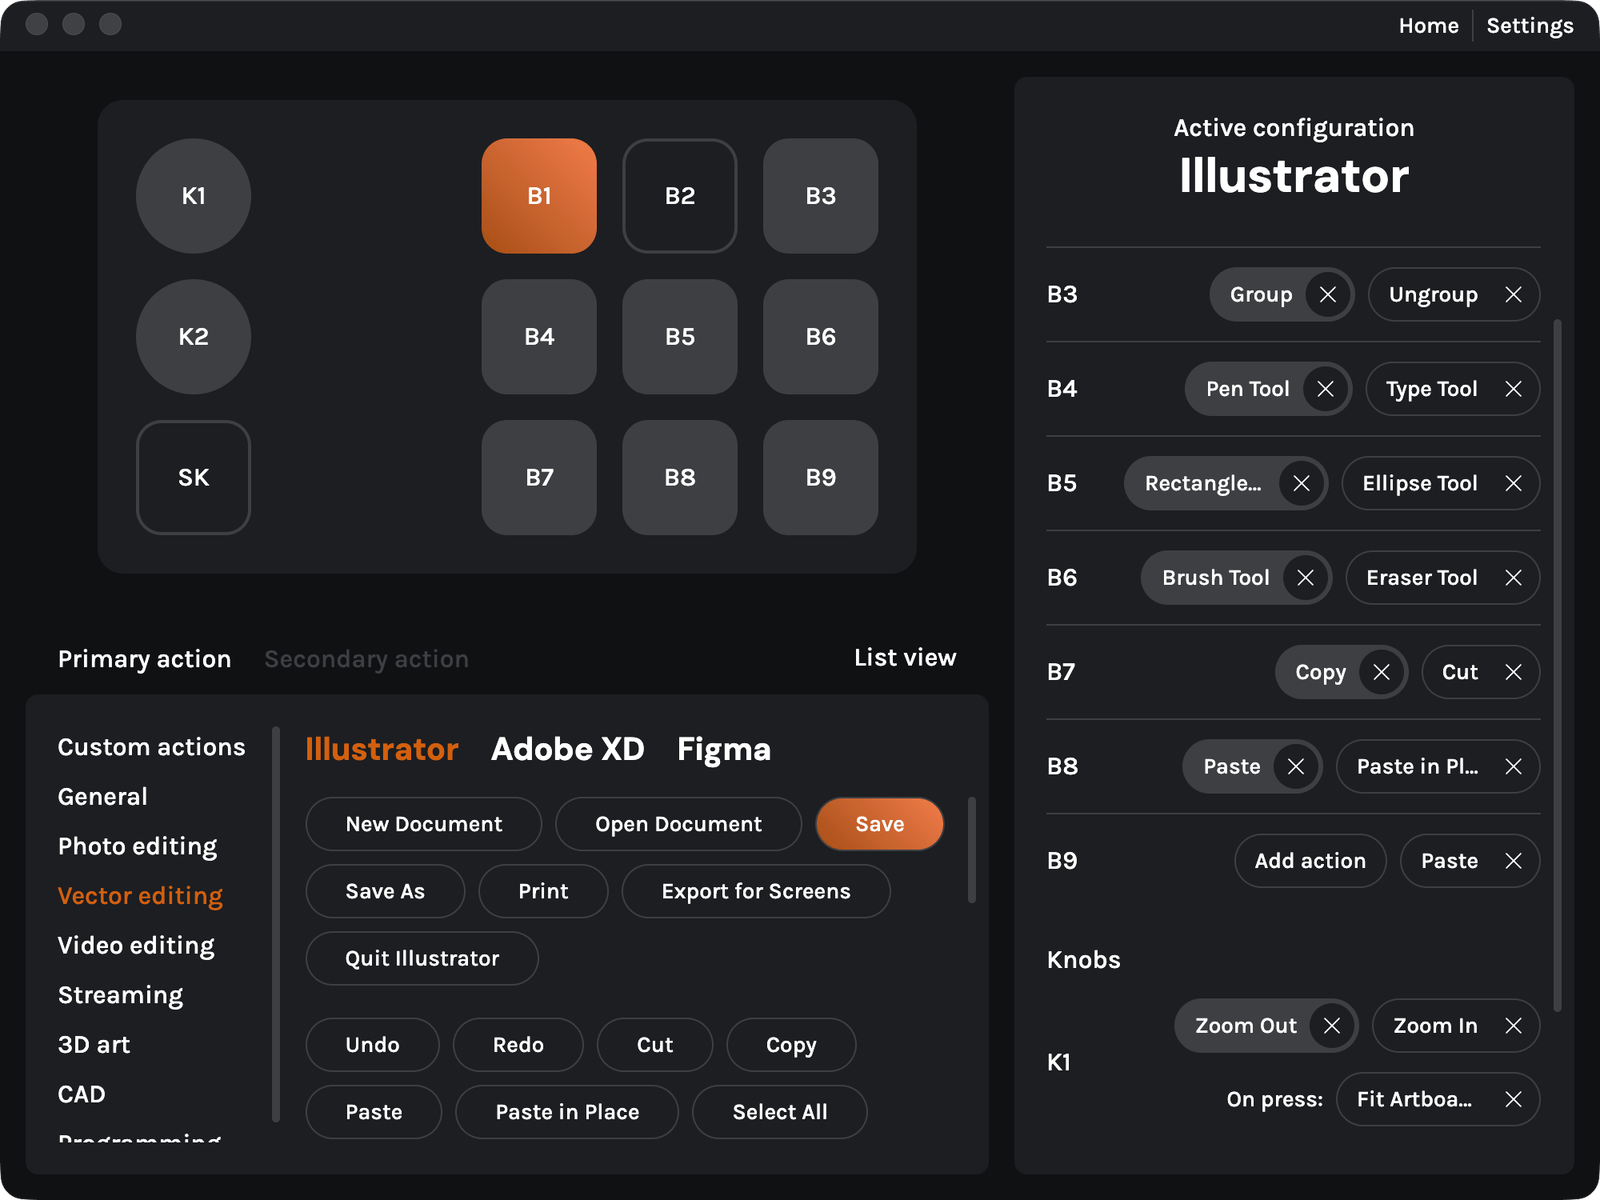
Assign actions to individual keys, encoder inputs and (where supported) primary or secondary layers.
Select an input
Click the key or rotary encoder in the device preview. On a rotary encoder, select the direction or press input you want to configure.
Choose the action layer
Where supported, choose Primary action or Secondary action.
Click on Apply changes to save the updated assignments to the connected device.
Predefined actions
Start with the included shortcut library instead of building every action from scratch.
Select a control
Open a device configuration and select the key or dial input you want to assign.
Browse a category
In the actions area, choose a category and then a software tab. KeyForge Master includes shortcuts for common creative tools, development applications and system tasks.
Choose and save
Select the action you want, then use Apply changes to save the assignment to your device.
Software shortcuts: A predefined shortcut sends the relevant key combination. It only performs the intended command when the active application supports that shortcut.
Custom Actions
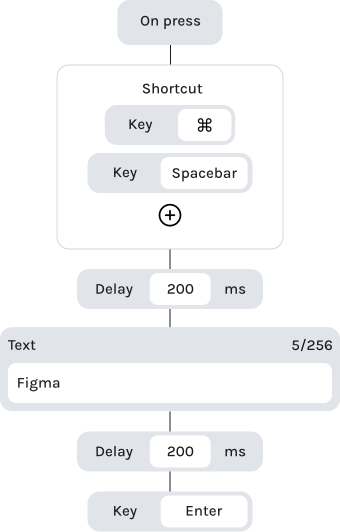
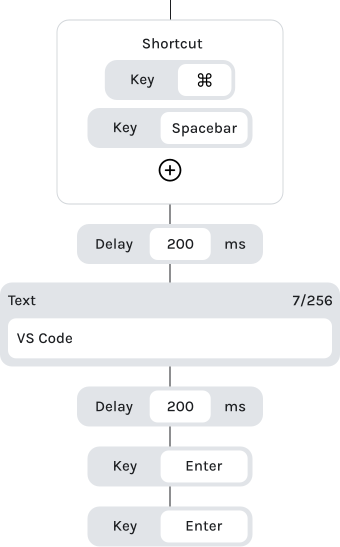
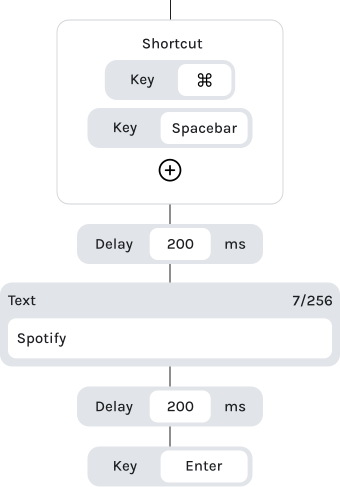
Create multi-step sequences using visual blocks. Combine keyboard input, timing, app launches and supported MIDI messages in the order you choose.
Create an action
Create or edit
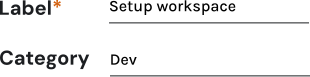
Open Custom actions, then choose Create action or edit an existing action. Enter a name and optionally select a category.
Add blocks
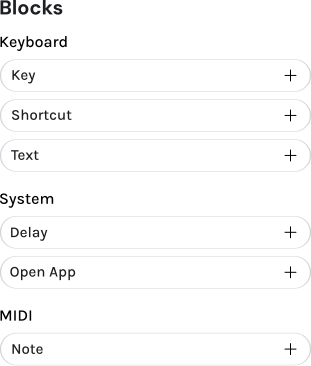
Choose blocks from the Keyboard, System or MIDI groups. Configure each block as it is added.
Arrange the sequence
Drag blocks to reorder them. Add delays where a later step should wait for an application or interface to respond.
Save and assign
Click on Save Action, then assign the custom action to a control in your device configuration and apply changes.
Available action blocks
Key
Send one key press, such as Enter or Escape.
Shortcut
Send a combination of keys, such as Ctrl + S.
Text
Type a saved phrase, command or other predefined text.
Delay
Pause for a specified number of milliseconds before the next block.
Open app
Choose an installed application to launch using KeyForge Master’s desktop integration.
MIDI message blocks
Add Note, Control Change, Program Change, Pitch Bend or Channel Pressure messages. See the MIDI reference for each type.
Execution depends on the action type. Basic device actions can work from stored configurations. Open app and other computer-assisted behavior require supported desktop integration; availability may differ by device and software version.
MIDI
Use MIDI action blocks to control compatible music software, instruments and applications that accept MIDI messages.
MIDI message types
Note
Send a MIDI note. Choose the note, velocity, channel and behavior (momentary, toggle or a single message).
Absolute Control Change
Set a MIDI CC to a defined value. Configure the channel, controller number and on/off values as applicable.
Relative Control Change
Send incremental changes. Configure the channel, CC number, step size, direction and relative encoding format.
Program Change
Select a program or preset on the receiving instrument or application.
Pitch Bend
Send a pitch-bend value on the chosen MIDI channel.
Program Change
Send a channel pressure value, sometimes called channel aftertouch.
Set up a MIDI control
Create the MIDI action
Add the required MIDI block in the Custom Actions builder and set its channel and message values.
Assign it
Save the custom action, assign it to a compatible key or encoder input and apply your device changes.
Map the receiving application
In the MIDI-compatible application, select the KeyForge MIDI input and map the message to the intended function, if mapping is required.
Relative CC formats: The builder offers 2’s Complement, Binary Offset, Signed Bit and Signed Bit 2. The receiving software must use a matching format. MIDI features depend on supported device firmware and application versions.
App Sync
Switch the active configuration automatically according to the application you are using on your computer.
Assign an application
Open Settings → Device, click on a configuration’s settings icon, and use the App sync field to associate an installed application.
Enable App Sync
Return to the Device settings screen and set App sync to On.
Switch applications
Keep KeyForge Master running while you work. When the assigned application becomes active, the software can switch to the matching configuration.
App Sync depends on the configurator detecting the active application; it cannot work while the required desktop integration is closed. Availability depends on your installed KeyForge Master and device firmware versions.
Settings & Backups
Use MIDI action blocks to control compatible music software, instruments and applications that accept MIDI messages.
Application preferences
Window theme
In application settings, choose System, Dark or Light.
Device settings
Manage configurations, App Sync, the active configuration overlay and the displayed firmware version.
Backup and import custom actions
Export a backup
Open the application settings area. Under Custom actions, select Save KF file and choose a location for the .kf file.
Import a backup
Select KF file, choose a previously exported file, then review your available custom actions.
How import works: Imported actions are merged by category and action ID. If an imported action has the same ID in a matching category, the imported version replaces it. New actions are added. The backup is for custom actions, not a full backup of every device configuration.
Software & firmware
KeyForge Master and device firmware are updated separately. Keeping them current provides the fixes and functionality supported by each release.
KeyForge Master
Use the app update method available for your operating system. You can also obtain the current installer from the Configurator page.
Backup and import custom actions
Connect your device
Open KeyForge Master and connect the device you want to update.
Start the offered update
If a firmware update is available, follow the prompts in KeyForge Master.
Wait for completion
The installer downloads the firmware, prepares the device, installs the update, reconnects and verifies the firmware version. Avoid disconnecting during installation.
Reconnect if requested
If KeyForge Master displays Reconnect required, follow the message and reconnect the device before continuing.
If an update fails, note the error shown by KeyForge Master before retrying. A firmware error may have different recovery steps depending on the device.